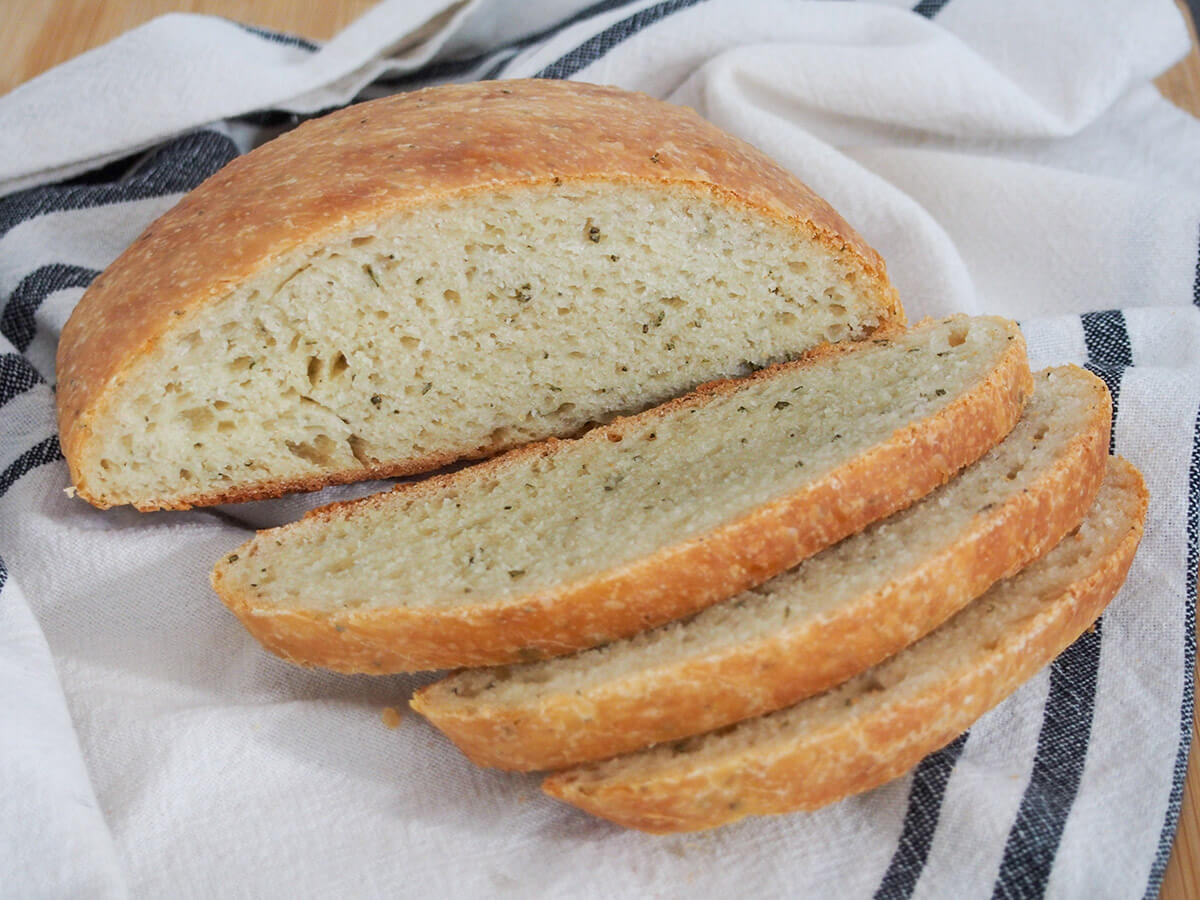
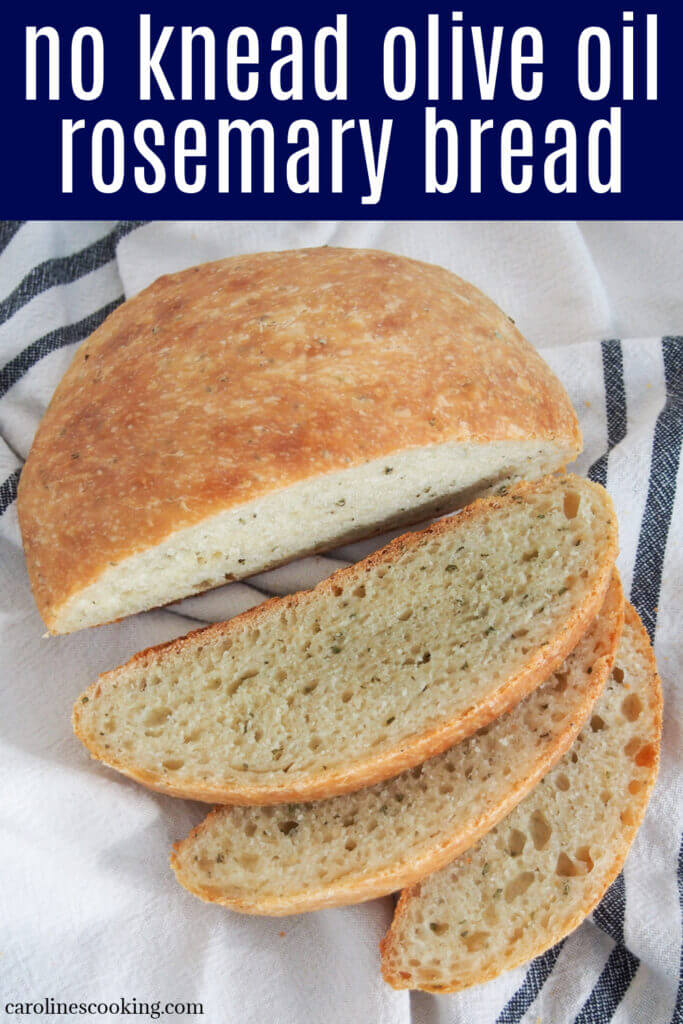
This no knead olive oil rosemary bread takes minimal prep and the result is a deliciously aromatic artisan-style loaf. It has a great flavor that is perfect with simple toppings or alongside a meal.

This post may contain affiliate links, where we earn from qualifying purchases. See more details in the policy page.
When we lived in London, we were not too far from one of the many farmers' markets around the city. The one near us wasn't one of the biggest, but it still had a great range of producers selling meats, cheeses, vegetables and some great specialty items like pestos and apple juices.
There was also generally a bread stall, which we always headed to for something for lunch on market day. One of my favorites was a rosemary bread that was hearty, aromatic and delicious.

This, to be fair, is not quite the same (I still have trying to replicate it on my list). But this IS about as easy as you can get for a bread with the addition of some delicious flavors.
How no knead bread is different
In case you missed it or didn't know the background, the first known publication of no knead bread was a New York Times recipe which has become one of their most popular recipes ever. It has been tweaked along the way by various people but the principles of how and why it works are the same.
The idea behind the bread is to be minimal effort but with an artisan-style loaf flavor. You really just need to mix the ingredients, leave the dough alone for a while, then roughly form the loaf. As you might imagine, it's great for beginner bakers.

Going a little more in to how and why it works, basically the dough uses a long fermentation rather than kneading to develop the gluten. This is what gives the bread its air pockets and shape.
In order to make this work, the dough uses a lower amount of yeast than regular yeasted bread so it rises more slowly, and a higher amount of water. You also add room temperature rather than warm water, all so you slow down the fermentation.
This all means it's a sticky dough, a little more like a sourdough. And the fact it has that longer, slower rise time also helps it develop flavor in that style as well. Not completely, but getting there.

After the wait...
After the long rise, you might not see many bubbles in the dough on the top, but if you are using a clear bowl, you should see bubbles in the side. Then, as you pull the dough away from the side of the bowl, you'll see the lovely gluten strands.
It can be a little hard to shape since the dough is sticky, but try your best to form it into a round ball in the middle of a piece of parchment. There are a few ways to get this to work and it might be trial and error to see what works best for you. But one thing to keep in mind - try not to overwork the dough, just form it as best you can.
My suggestion is to largely scrape back the dough in the bowl, then tip out the dough and handle it as little as possible, folding the dough over itself to form a tight, smoother side that becomes the top. Tuck the rougher edges you pulled round under as you place it on the parchment. You can tuck under a little more once it's on the paper to smooth it a little more.

Some like to oil their hands gently, others flour them. Both can work (but not together) so try as you prefer, but remember they are to help the dough stick less to your hands rather than that you are working them into the dough.
Baking the bread
The easiest way to bake this is in a Dutch oven, or other large dish with a lid. The reason for this is it helps to create steam in the initial bake when the lid is on, then crisp and brown when you remove the lid. Don't forget to pre-heat the dish to help the process, too.

You can bake it directly in the dish, but I find it much easier to use parchment. Put the dough on the paper then lift the corners of the parchment and place in the hot Dutch oven. I find you are better able to get the dough in the middle, less likely to burn your arm and it also saves the loaf sticking to the dish.
This no knead olive oil rosemary bread takes such little hands-on time to make and the result is a wonderfully flavorful, artisan-style loaf. It has a lovely crust, chewy middle and the olive oil and rosemary both add a lovely aromatic flavor. So worth the (little) effort to make it.

Try these other flavorful breads:
- Herb fougasse (a French bread with lots of crusty edges)
- Manakish (Lebanese za'atar flatbread)
- Anadama bread (a New England bread made with molasses and cornmeal)
- Caramelized onion sourdough bread (a little more work but so worth it!)
- Plus get more bread recipes in the archives.
No knead olive oil rosemary bread
Ingredients
- 280 g all purpose flour plain flour
- 5 ml salt
- 2.5 ml active dry yeast
- 15 ml chopped rosemary
- 180 ml water room temperature NOT warm
- 60 ml olive oil
Instructions
- Mix together the flour, salt and yeast in a large bowl. Add the rosemary, water and oil then mix together with a spatula or by hand until it is well combined. It should be fairly sticky.
- Cover the bowl with cling wrap/film and leave at room temperature for around 12 - 18 hours to slowly rise.
- The next day, preheat the oven to 425F/220C. Line a Dutch oven (or other oven-suitable dish/pan with a lid large enough to hold the bread with some space) with parchment paper so that the paper comes up the sides a little, pressing it in to shape a little. Then remove the paper and set on a work surface and place the Dutch oven in the oven as it heats up.
- Uncover the bread dough and scrape down the sides so that it's less stuck to the bowl. Loosen the dough from the bottom as well.
- Sit the bowl near the piece of parchment then dip the dough out onto your hands (it may help if your hands are either oiled or floured, see above). Quickly pull the dough back on itself so that you make it a slightly tight ball on one side and the pulled/rougher edges are on the other. Place the dough rough edges down on the parchment and shape the edges further around itself, as needed, tucking under a bit to form a ball.
- Once the oven has come to temperature, remove the Dutch oven then lift the parchment by the corners to place it inside the Dutch oven with the dough in the middle. Cover then place back in oven and bake for 20 minutes.
- After 20 minutes, remove the lid then continue to bake for approximately 20 minutes more (may take 25) until the loaf is golden brown and sounds hollow when tapped on the bottom.
- Remove the loaf from the Dutch oven and allow to cool on a cooling rack a good 10 minutes or so before slicing.
Video
Notes
Nutrition
See some of my favorite cooking tools and ingredients in the Caroline's Cooking Amazon store.
Remember to pin for later!


Alejandra
This bread looks delicious and I have so much rosemary to use up! yum!
Caroline's Cooking
Perfect! Hope you enjoy.
Maz
Love this bread. So easy to make. Thrilled with this recipe. I took the bread out of the dutch oven and let it brown a little more on the oven rack. Texture was gorgeous. Hint: 1 tablespoon fresh rosemary can be 1 teaspoon dried instead.
Caroline's Cooking
Glad to hear you enjoyed! And yes, 1tbsp fresh is roughly the same as 1tsp dried for most herbs, though I do particularly like fresh in this bread.
Annissa
This bread looks easy to make and sounds very tasty! Thanks for sharing!
Caroline's Cooking
Thank you, it is indeed both!